I. Remove the main bearing caps from the Cummins X15 engine and clean their surfaces to ensure they remain free of debris. Install the correct main bearings—specifically adapted for the X15 engine—into the cylinder block. (Note: There are two different types of main bearings; verify the correct type during assembly.) Since surface damage to the main bearings can be difficult to detect, it is recommended to replace them with new ones to ensure optimal engine performance; additionally, apply a thin layer of lubricant to the bearing surfaces.
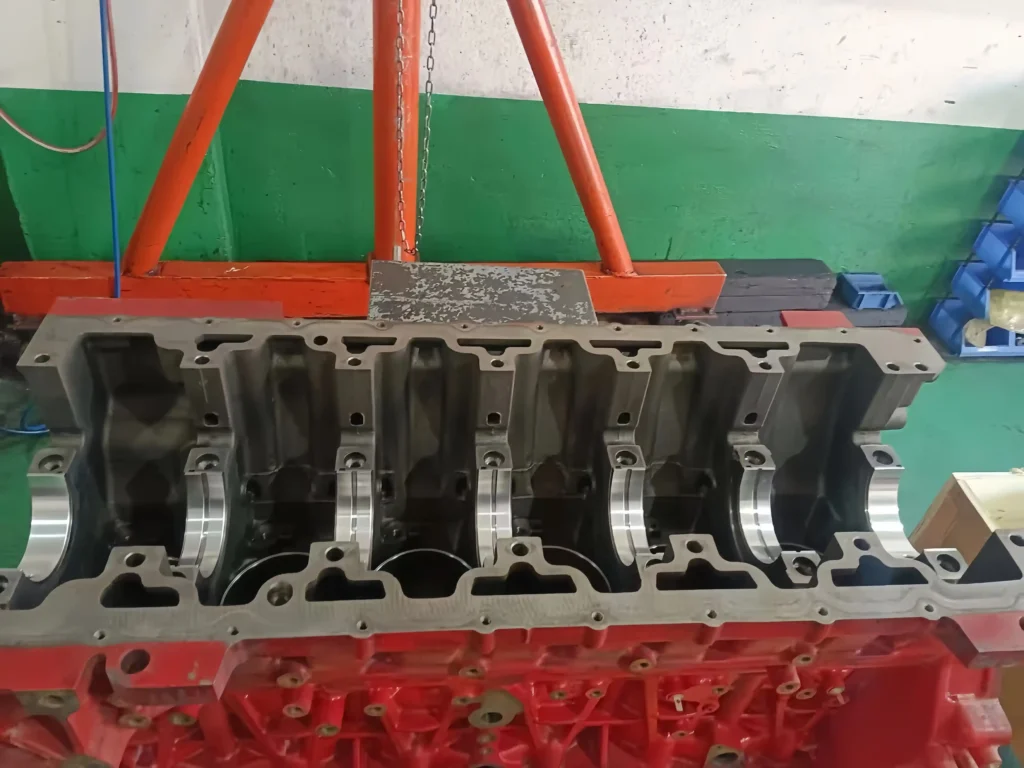
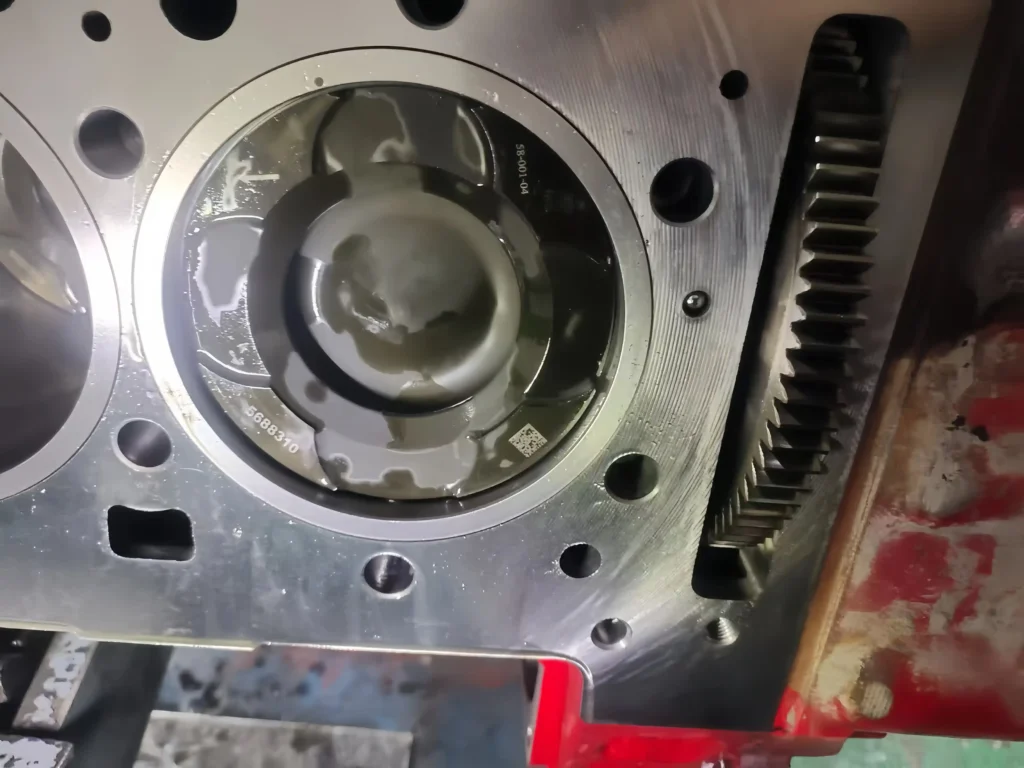
2 Inspect the Cummins X15 engine crankshaft. Measure the journal diameter at each main bearing location to ensure consistency, and verify that the crankshaft has undergone dynamic balancing. Then, carefully install the approved crankshaft into the cylinder block. This entire process requires extreme caution to avoid damaging either the cylinder block or the crankshaft. Finally, secure the main bearing caps to the cylinder block, tightening the cap bolts to a torque specification of 72 N·m.

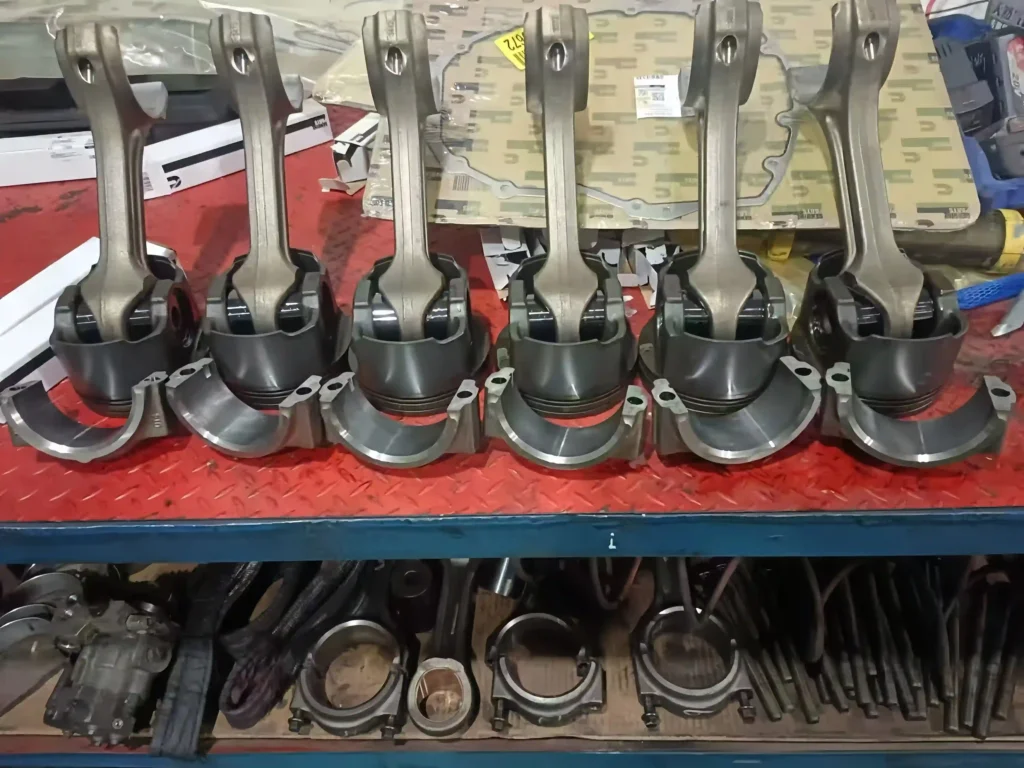
3. Systematically install the core components of the Cummins X15 engine: the connecting rods, pistons, piston rings, piston pins, and connecting rod bearings. Throughout this process, pay close attention to the orientation of the connecting rods relative to the pistons, as well as the specific position of each piston ring on its respective piston. This is critical; incorrect installation will lead to severe consequences for the engine. Note: Both the piston rings and the connecting rods have specific, fixed orientations that must be observed.
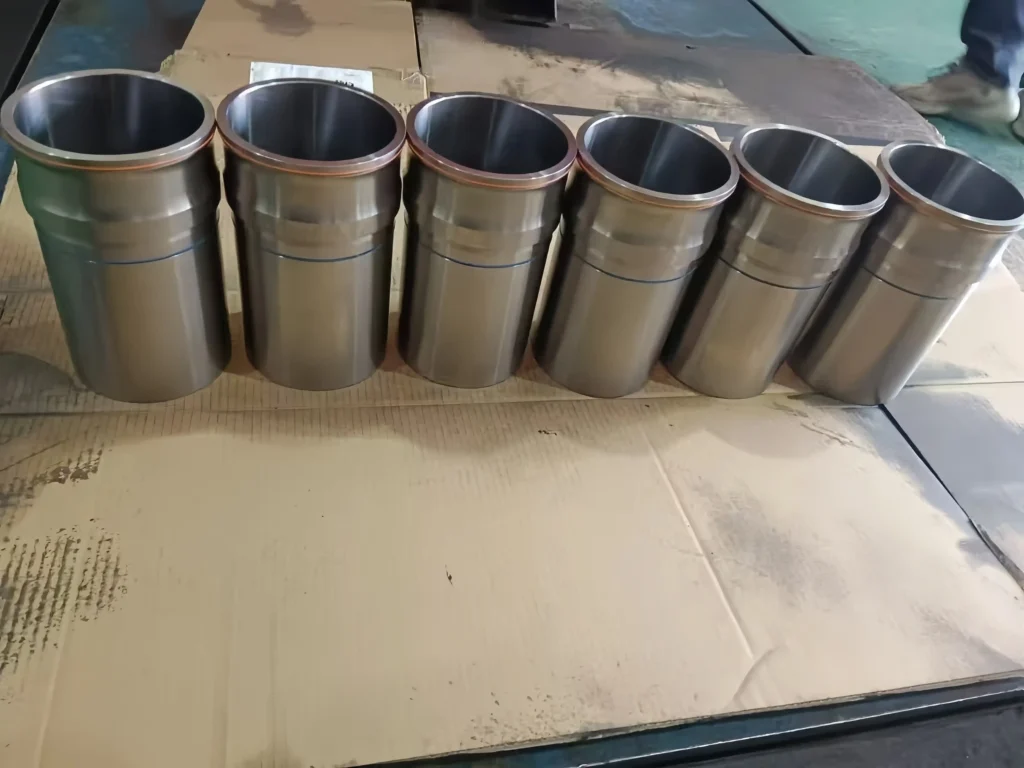
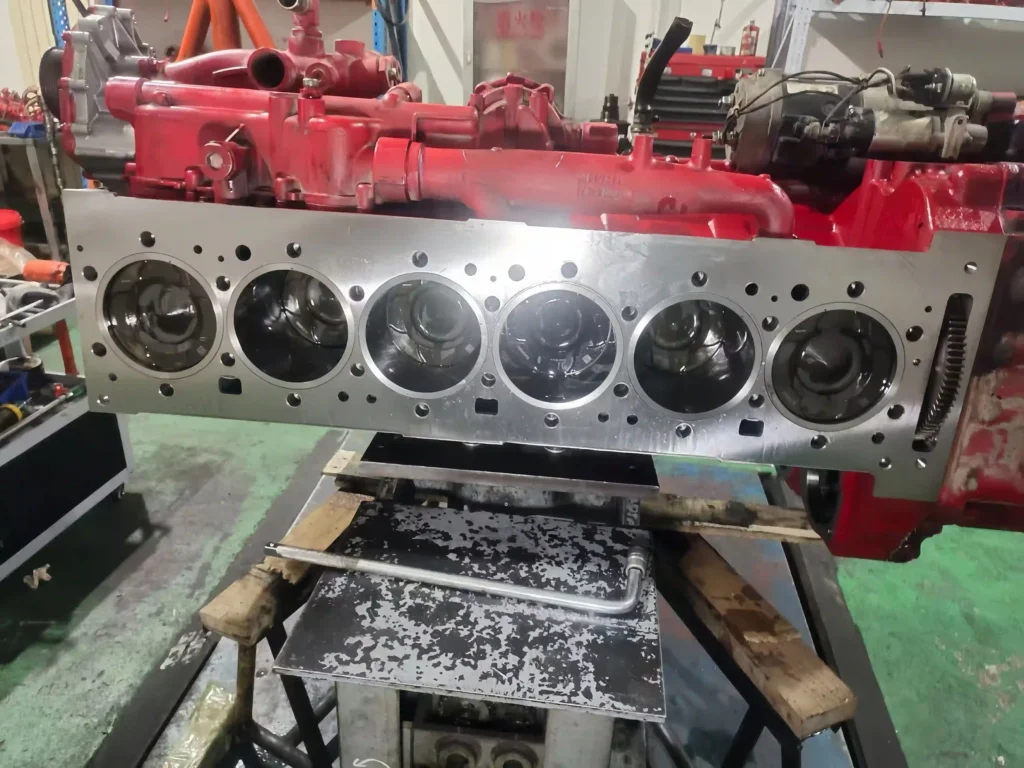
4. Install the Cummins X15 cylinder liners into the cylinder block. Prior to installation, use a measuring instrument to take readings at three different points along the length of the liner to ensure that the measurements are consistent or fall within the specified tolerance range. Then, use specialized installation tools to prevent damage to the liner during insertion. A thin layer of lubricant may be applied to the exterior of the liner to facilitate installation and protect the sealing rings.
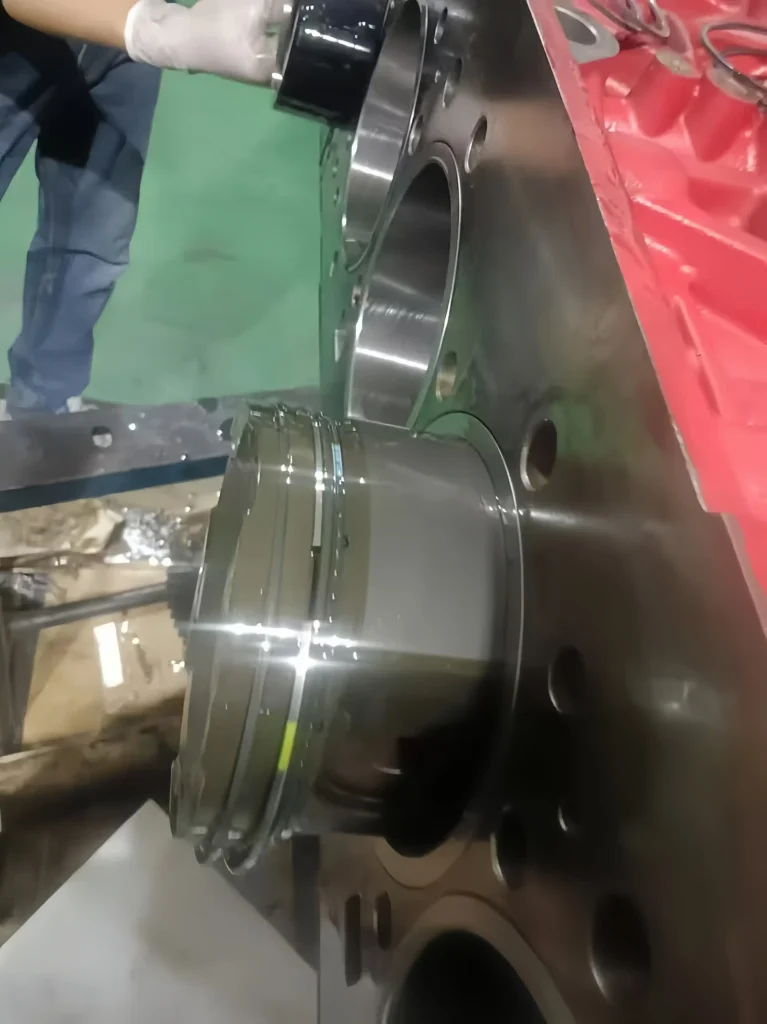
5. Apply lubricant to the exterior of the piston, and then—together with the connecting rod—carefully insert the assembly into the cylinder liner, taking care to avoid damaging the liner with the connecting rod. As the piston rings approach the liner, adjust the position of each ring gap (end gap) so that a 90-degree angle is formed between the gaps of adjacent rings; this arrangement ensures optimal sealing performance for the piston rings. Finally, use specialized tools to fully seat the piston assembly into the cylinder liner.
6. Place the fully assembled cylinder block on its side; then, using a tool, rotate the engine crankshaft and observe the movement of each piston to check for any abnormalities.
7. Install the remaining components in sequence. It is recommended to replace all seals during this process with new ones to ensure proper sealing, thereby enhancing the engine’s performance.